Forward-facing Fly-through with DVGO
This tutorial will guide you to produce smooth forward-facing fly-through video using DVGO from your casually captured images.
Below are some of the results from my casual capturing:
Download example images: Otobai.zip and Madoka.zip.
My working environment: iPhone 6s+ and a desktop computer with a RTX 2080Ti GPU.
How to capture forward-facing scenes?
Images credit: Local Light Field Fusion.
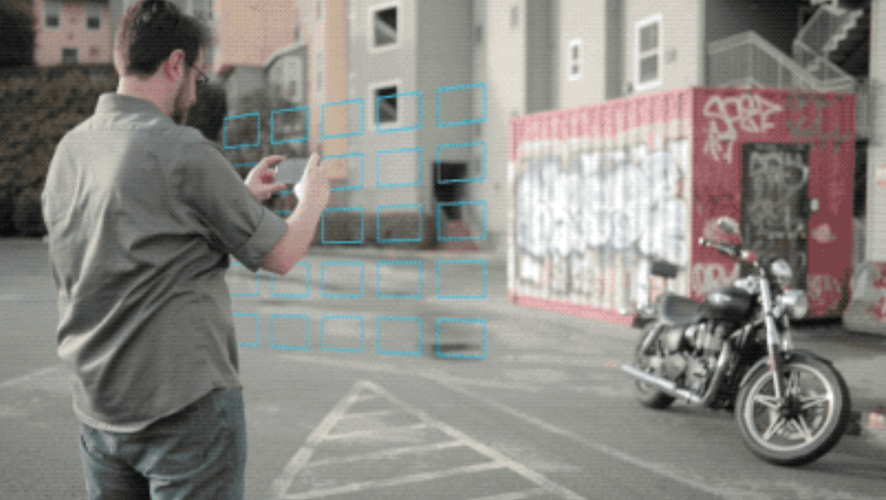
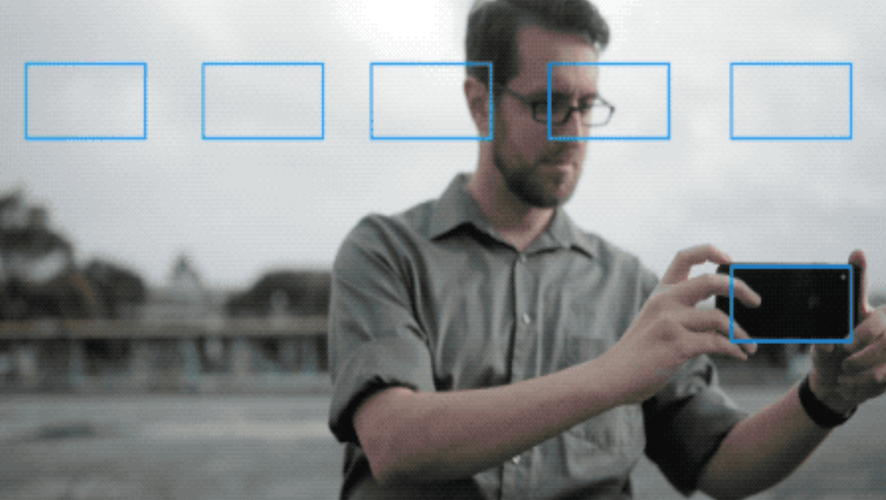
- I typically capture 25-100 images in the 2D plane shown above.
- I would lock the camera auto exposure to prevent photometric variation, which can be done by long tap a point of interest on the screen if you use iPhone.
- I would try my best to:
- Move my camera only on the 2D plane.
- Fix all my camera viewing angles.
- Prevent motion blur.
Organize your images
- Create a folder naming the captured scene with a "source/" folder under it (e.g., data/custom/Otobai/source/).
- Put all your images under the "source" folder.
Structure-from-Motion
Run COLMAP (for example, python tools/imgs2poses.py data/custom/Otobai/). After some minutes, you will get the results like below:
data/custom/Otobai/
  ├── source/  # your source images
  ├── dense/
  │     ├── images/            # undistorted images
  │     ├── images_[2|4|8]/    # downsampled undistorted images
  │     ├── poses_bounds.npy   # inferenced camera poses
  │     ├── poses_perm.npy     # camera id having poses (some may failed)
  │     ├── sparse/            # colmap format camera params and sparse points
  │     └── ... some files if you want to run colmap to inference dense depth
  └── colmap_output.txt, database.db, sparse  # colmap related files
Run DVGO
You first need to create a DVGO config file. Please see configs/custom/Otobai.py and configs/custom/Madoka.py for concrete examples.
Below show an example config:
# inherit default setting for custom forward-facing
_base_ = './default_forward_facing.py'

# name your scene
expname = 'MyScene'

data = dict(
    datadir='./data/custom/MyScene/dense',  # path to the root of your images
    factor=2,                               # the training images resolution
)
Now we are ready to go: python run.py --config configs/custom/MyScene.py. The overall training takes about 5 to 50 minutes depend on your computation power and the density of the scene.
Once the training is finished, the model will be saved to logs/custom/MyScene/fine_last.tar.
Render fly-through video
To preview your fly-through video from the trained model, run python run.py --config configs/custom/MyScene.py --render_only --render_video --render_video_factor 8.
There are some parameters in your config for you to control the virtual camera trajectory:
data = dict(
    movie_render_kwargs={
        'scale_r': 1.0, # circling radius
        'scale_f': 1.0, # the distance to the looking point of foucs
        'zdelta': 0.5,  # amplitude of forward motion
        'zrate': 1.0,   # frequency of forward motion
        'N_rots': 1,    # number of rotation in 120 frames
    }
)
You can also use --render_video_flipy to vertical flip the rendered video or use --render_video_rot90 N to rotate the rendered video with N*90 degree.
The rendered rgb and depth videos are located at logs/custom/MyScene/render_video_fine_last/. You may want to tune the rendering arugments and preview their results. Remove --render_video_factor 8 to render high-resolution video after you are happy with the camera trajectory.
Below demonstrate the effect of some fly-through trajectory parameters.
scale_r=0.5
scale_r=1.0
scale_r=1.5
scale_f=0.5
scale_f=1.0
scale_f=10.0
zdelta=0.5
zdelta=1.0
zdelta=2.0
zrate=1.0
zrate=4.0
zrate=12.0